Perhaps the most interesting additions this month are the Book map and Page browser. The book map shows a map of the content of a book, including the ToC, bookmarks, read pages and non-linear flows. The page browser shows thumbnails of pages.
Did you know that mosquitoes are supposed to crawl up into their winter holes by late September in northern hemispheres? If you didn't, don't feel bad, because apparently the mosquitoes don't know either. The weather's too mild which is confusing them.
You can see many seagulls out and about this time of year, often even far inland. The biggest news this month may well be @zwim‘s new Autowarmth plugin.
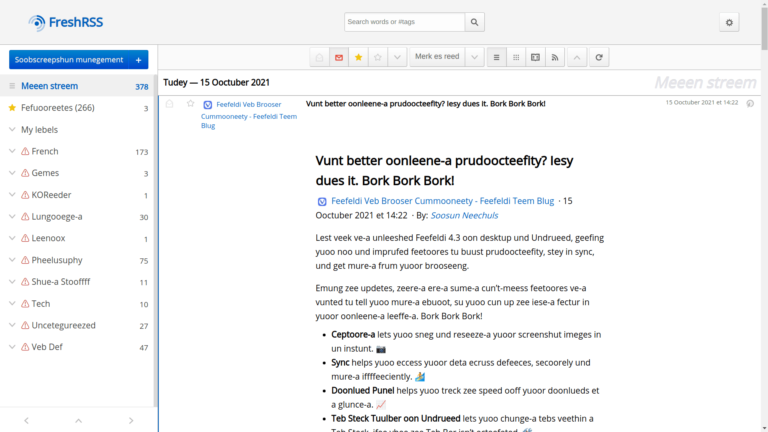
It's been 18 years since Opera published their classic bork edition. I decided to revive Opera's classic bork script to protest artificial limitations to making websites appear like native apps on Android Chrome.
Traditionally, September cheese is made in — you guessed it — September. This is when the grass and milk are at their best. We hope this release won’t take as long to ripen though.
We now have a user guide thanks to @offset-torque‘s hard work. This should make it easier for new users to find their way across the program’s features.
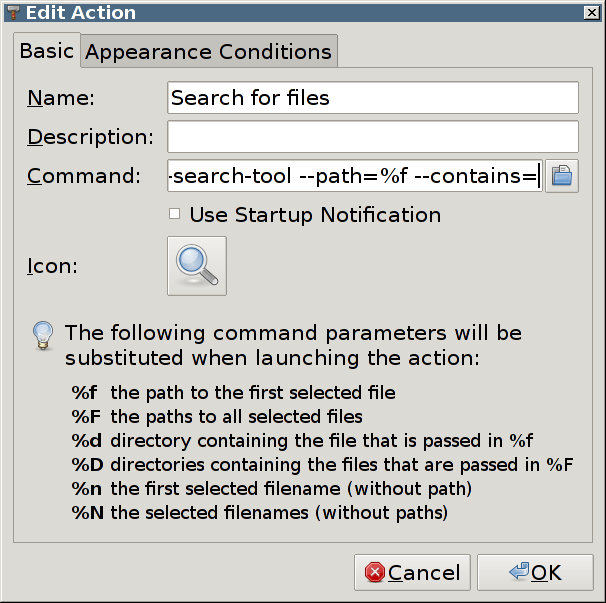
Apparently action buttons have moved to the top now, even though people scan from the top left to the bottom right? xfconf-query -c xsettings -p /Gtk/DialogsUseHeader -s false
It was a nice spring month with a great quantity of smaller bug fixes, but nothing huge. In other news, there's a new contrib repository that can more freely accept most user plugin submissions.
In a big step forward, this month @poire-z decided to add MathML support! In short, that means we can now read ourselves about Gaussian math in KOReader the way it was meant to be.
There have been many behind the scenes code cleanups and speed improvements, but the one thing that stood out most to me personally was the new show QR code plugin (#7310) contributed by @AntonLee. It's perfect to quickly check out an external link on your phone.
In November we've mostly seen the usual batch of refinements and bug fixes. There are a couple of new plugins, and zombie states are now avoided on Android.