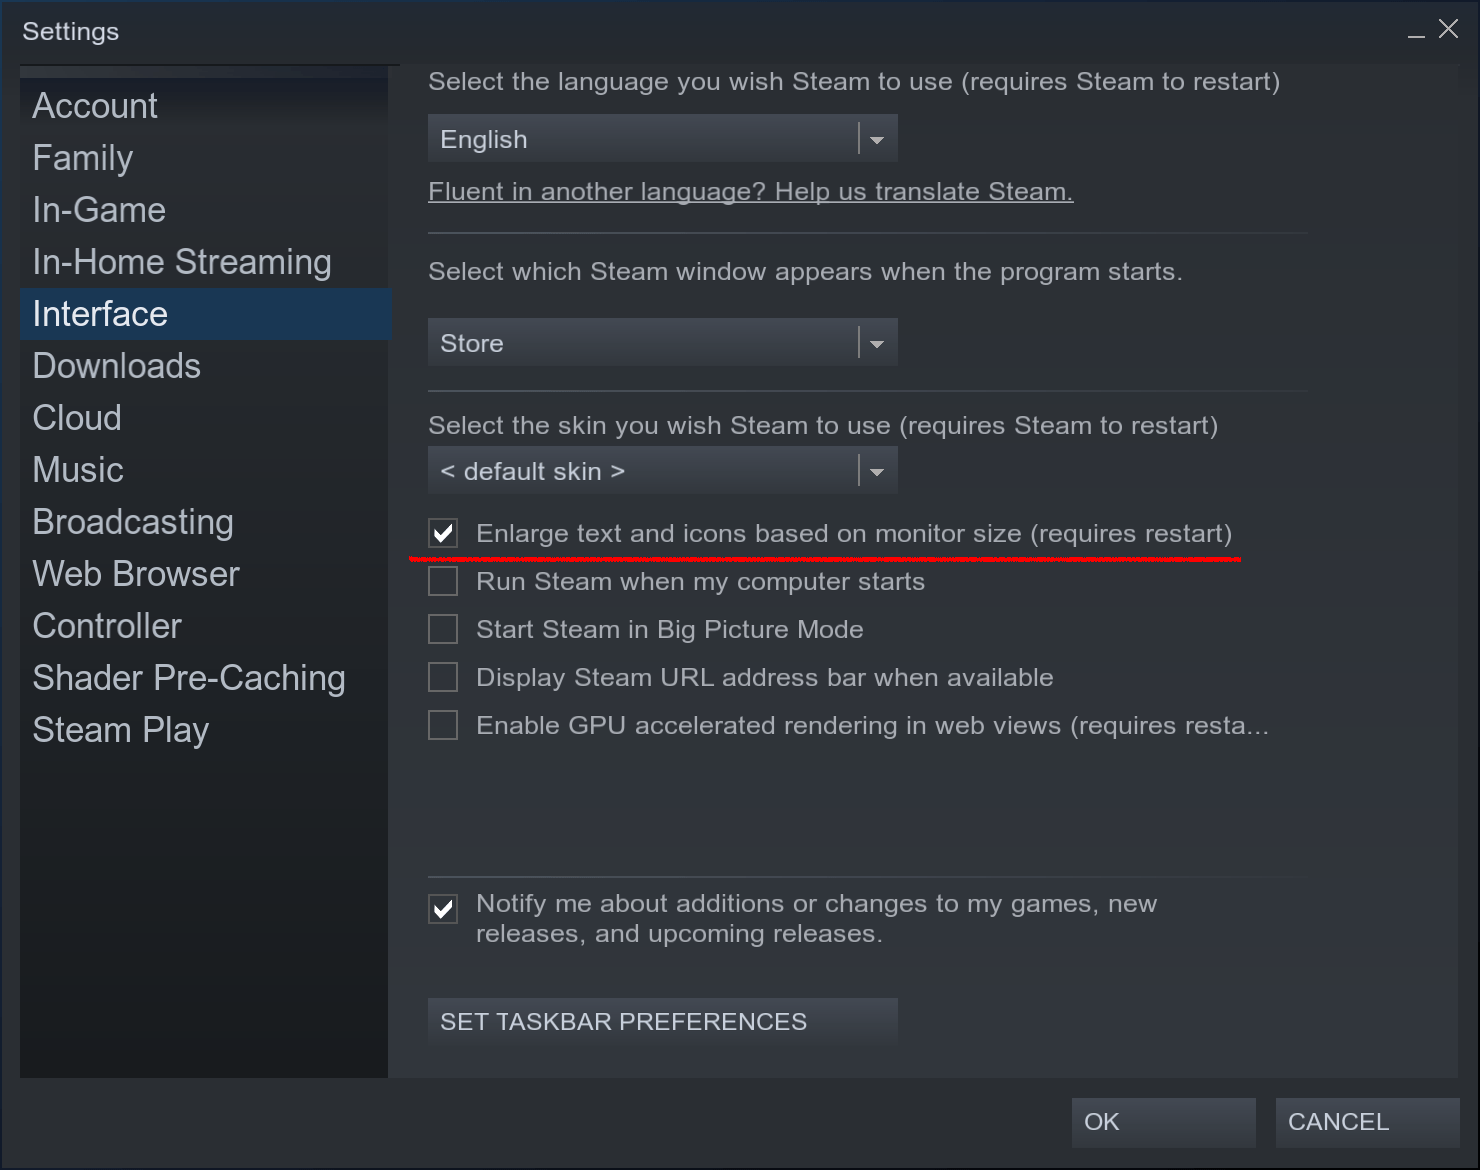
Steam Scaling on Linux
Since I don’t use Steam that much I don’t know when it was added, but it’s nice that Steam is no longer tiny on my UHD monitor.
Since I don’t use Steam that much I don’t know when it was added, but it’s nice that Steam is no longer tiny on my UHD monitor.
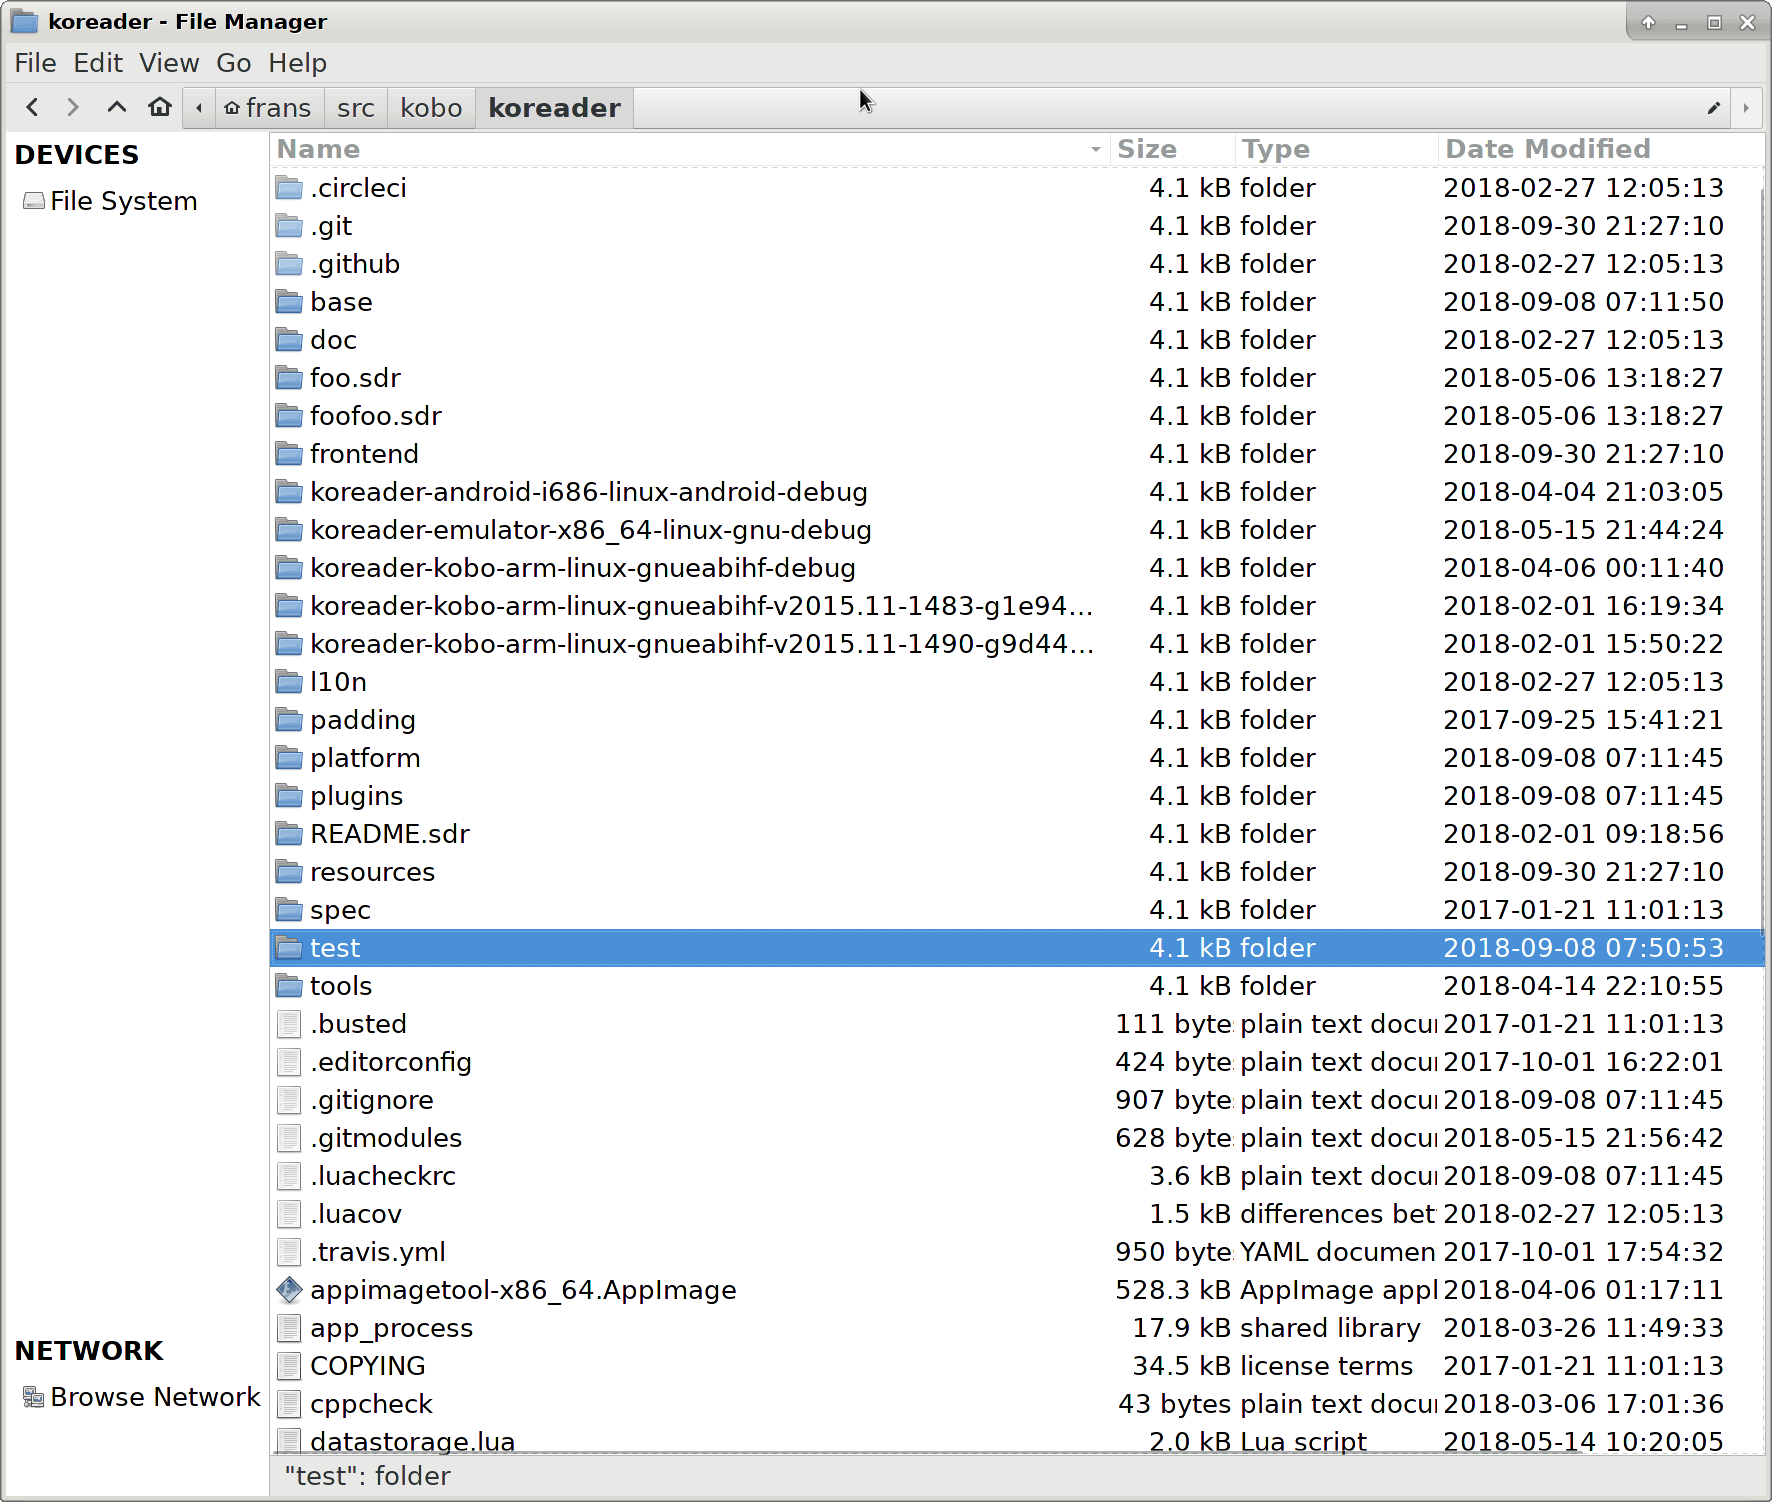
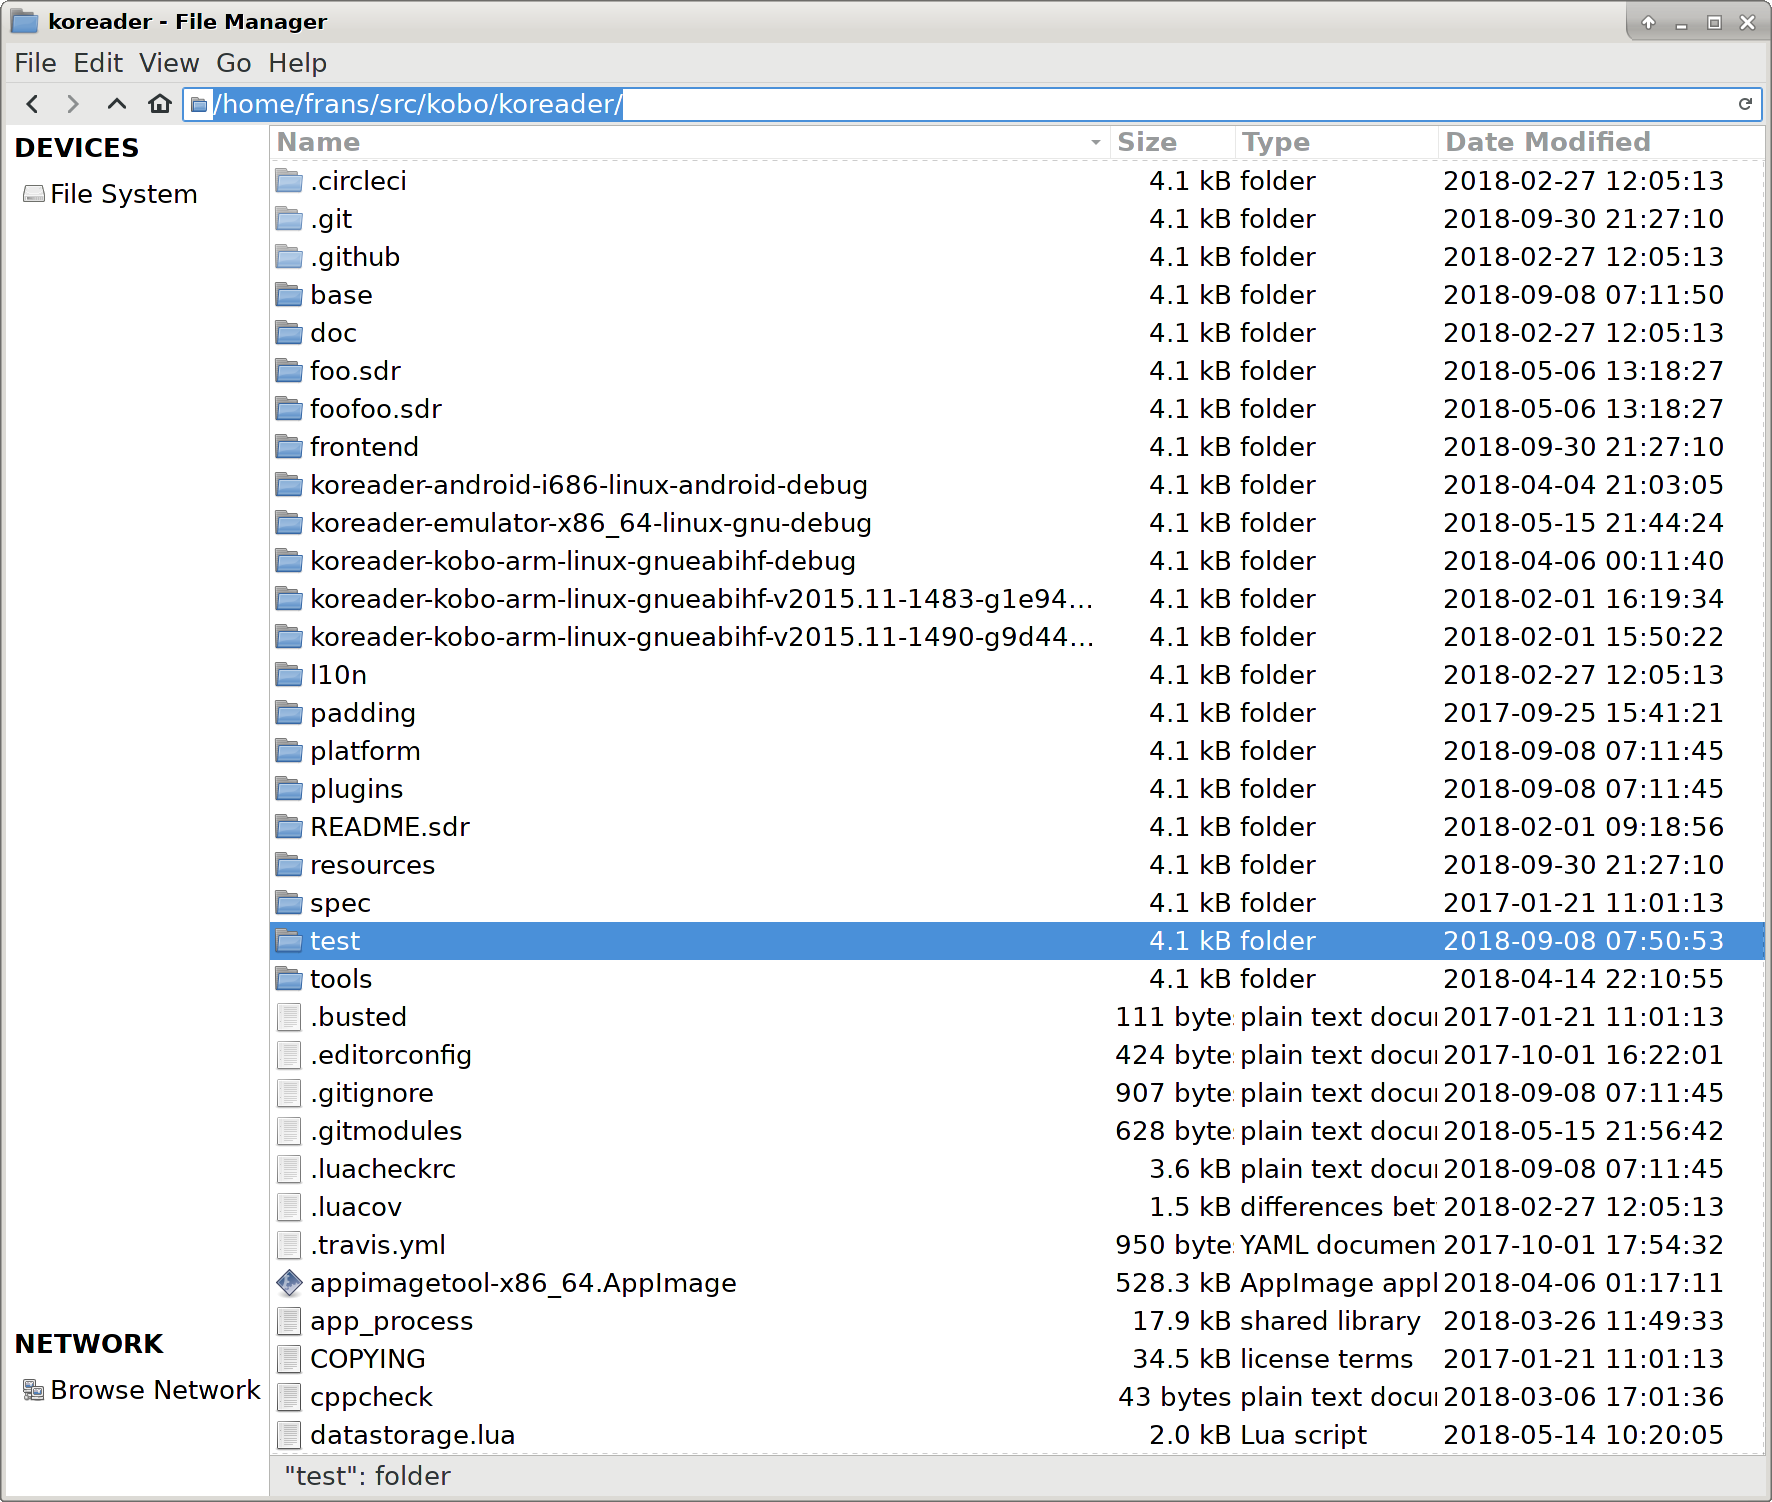
The biggest issue with breadcrumbs in Nautilus and Nemo is that suddenly you can only reach the full path by pressing the keyboard shortcut Ctrl + L or with too precise clicking somewhere far from where you need to be. Thunar has always shared this problem, but it looks like it was silently fixed in the 1.8.x release. (That is, I couldn’t find anything about it in the NEWS file.)
Note how everything to the right of the breadcrumbs is a giant button to activate location entry. Very elegant. Next, let’s have some “Open terminal here” on the breadcrumbs!

I went with a mildly deceptive clickbait title since this is generic, not specific.
The simplest way is to add synclient TapButton3=2 to your ~/.bashrc:
echo synclient TapButton3=2 >> ~/.bashrclibinput-gesturesWindows and Mac have added some conveniences over the past decade that I’m missing to some degree, also see my post on mimicking Windows snap hotkeys in Xfce. There’s something called libinput-gestures, supposed to be an interim solution but it is nonetheless extremely useful. The website contains installation instructions but here’s the rundown based on my installation notes.
libinput-tools is a required package to install for people like me who use Debian and derivaties, xdotool is to automate X11, mostly through faking keyboard presses. Docs here.
sudo apt install libinput-tools xdotoolCompile and install the actual program:
git clone http://github.com/bulletmark/libinput-gestures
cd libinput-gestures
sudo make install
Copy the global config to your user dir so you don’t need sudo to edit:
cp /etc/libinput-gestures.conf ~/.config/libinput-gestures.confEnsure you have permission to read input from the touchpad:
sudo gpasswd -a $USER inputNB Normally if you’re not a part of a group by default it’s for sensible security reasons. In this case you’re giving more programs access to your input so the negative implications are fairly self-evident.
The program can now be controlled through the libinput-gestures-setup command. You probably want to set it up to autostart:
libinput-gestures-setup autostartWhile playing around with the configuration you’ll probably be using libinput-gestures-setup restart a fair bit.
As the docs say, log out of your session and log back in (or just restart) to make it work.
There are some default gestures of possible use, but I’d rather keep it closer to Windows insofar as I don’t dislike what it does to reduce disconnects when switching between systems. As such I’d stick with three finger swipe up (away from yourself) to mean window switching. For example, if you have Nimbler or something equivalent installed you can use xdotool to trigger it, whether through the default F10 or my preferred Alt+`. On various systems you also have overviews similar to Windows and Exposé. Of course I’d be remiss if I didn’t point out that as far as I know Compiz Scale preceded it, but that aside.
gesture swipe up 3	xdotool key F10
gesture swipe up 4	xdotool key alt+F1
That Alt+F1 is to trigger the global menu in Xfwm. It’s just something I’ve got in there as an experiment. We’ll see how it goes.
Should you decide to use the default gestures for back & forward in the browser, you still have to customize them because they go in the wrong direction by default. Left is back, not forward, and vice versa.
gesture swipe left	xdotool key alt+Left
gesture swipe right	xdotool key alt+Right
It’s a little rough around the edges but definitely a lot better than nothing.
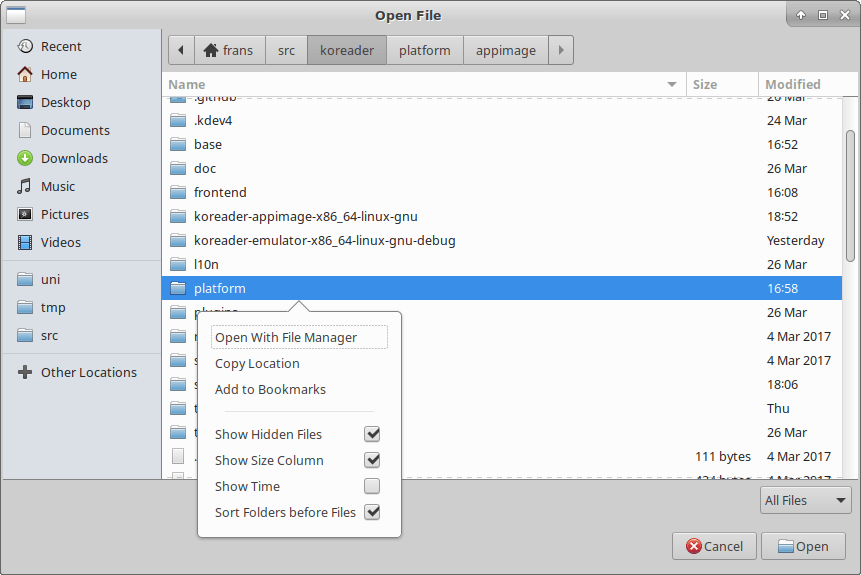
It’s quite simple to do but surprisingly hard to find. Mixed files and folders confuse me. They seem disorganized.
To resolve the weird “ERROR: Missing required OpenGL extensions,” set the environment variable force_s3tc_enable=true.
force_s3tc_enable=true ./start.shAn alternative, more permanent solution consists of isntalling libtxc-dxtn-s2tc:
sudo apt install libtxc-dxtn-s2tcThanks to the game’s forum.
It’s quite simple. Open Settings → Window Manager → Keyboard. Then find the various “Tile window to the…” options. Finally, pick your desired keys.
You can’t make it function quite as smoothly as in Windows 10, but it certainly helps.
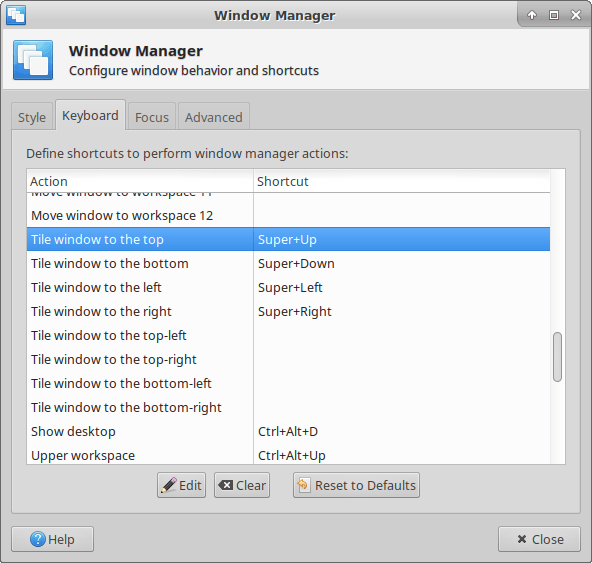
Of course you can also just drag the window against the side of the screen with the mouse. But sometimes the keyboard is faster.
Thanks to gnome-keyring you won’t get a useful error message. If you uninstall it, you’ll get the real culprit right where it matters, but in retrospect ssh-add gives you the same error message:
$ git pull upstream master
@@@@@@@@@@@@@@@@@@@@@@@@@@@@@@@@@@@@@@@@@@@@@@@@@@@@@@@@@@@
@         WARNING: UNPROTECTED PRIVATE KEY FILE!          @
@@@@@@@@@@@@@@@@@@@@@@@@@@@@@@@@@@@@@@@@@@@@@@@@@@@@@@@@@@@
Permissions 0644 for '/home/frans/.ssh/id_rsa' are too open.
It is required that your private key files are NOT accessible by others.
This private key will be ignored.
Load key "/home/frans/.ssh/id_rsa": bad permissions
git@github.com: Permission denied (publickey).
fatal: Could not read from remote repository.

Please make sure you have the correct access rights
and the repository exists.
That means something like this, or maybe just read:
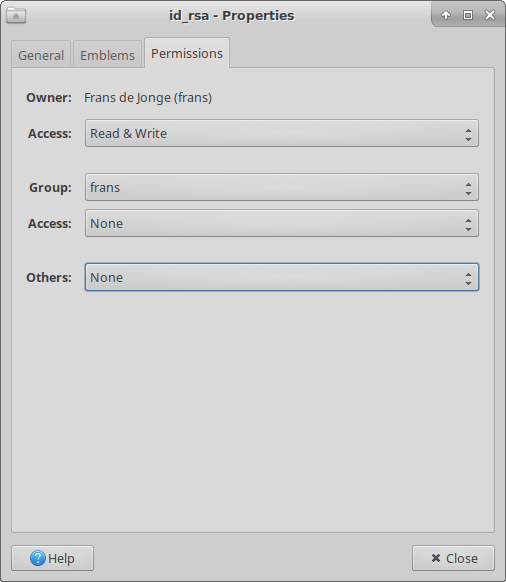
So much for the GitHub help. 🙂
It’s in the docs, but I’m always losing it. So here’s a quick overview of some of the ones that are more important to me.
| Android version | API level |
|---|---|
| Android 8.1 | 27 |
| Android 8.0 | 26 |
| Android 6.0 | 23 |
| Android 5.0 | 21 |
| Android 4.1 | 16 |
| Android 4.0.3, 4.0.4 | 15 |
| Android 4.0, 4.0.1, 4.0.2 | 14 |
| Android 2.3 | 9 |
https://developer.android.com/guide/topics/manifest/uses-sdk-element.html#ApiLevels
Half a decade ago I neglected to jot this down, so I had to figure it out again. Just in case someone landed here searching for the most basic R problem, you start the program using uppercase R, not lowercase r. Anyway, to work with a package in a git repository or some such the easiest method is the devtools package.
install.packages('devtools')
library(devtools)
load_all()
Without any parameters, the load_all() function from devtools loads the current directory without installing. You could effect the same with more keystrokes using load_all('./'), and of course you can pass any path instead of relying on the current working directory. But in combination with git I find it easiest to just stick with that. After you’ve made some changes in the source, just run load_all() again.